 ZxBudget
Guide
Quick start
About fifteen minutes to a budget you can spend from. You add transactions, mark the ones that match your statement as cleared, then reconcile each account. ZxBudget has no account of its own. You can stop after any step and come back.
1. Open the app
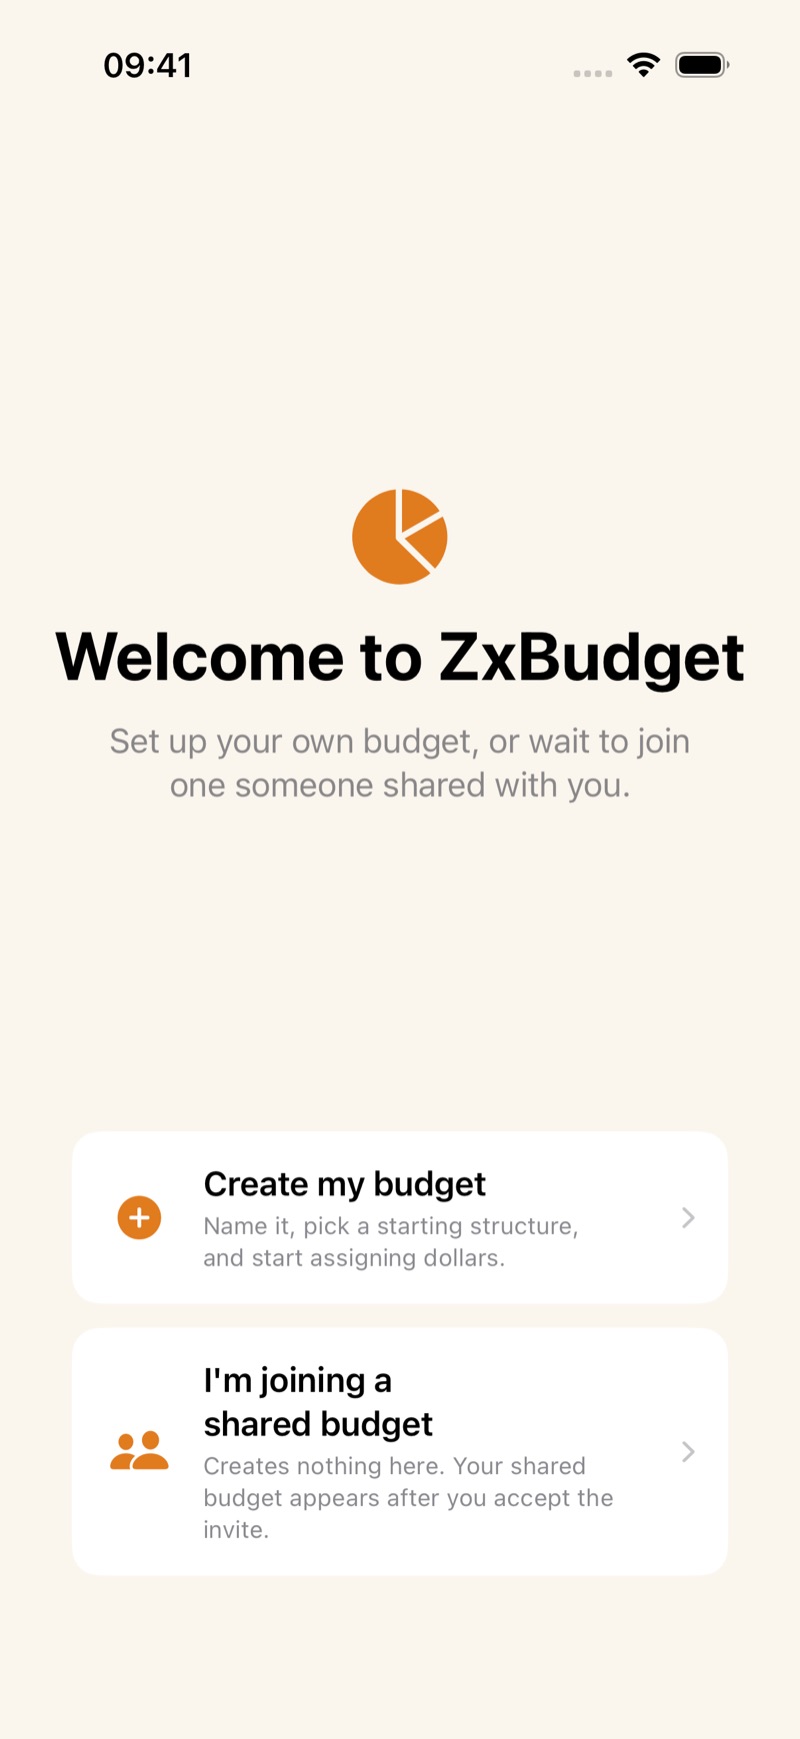
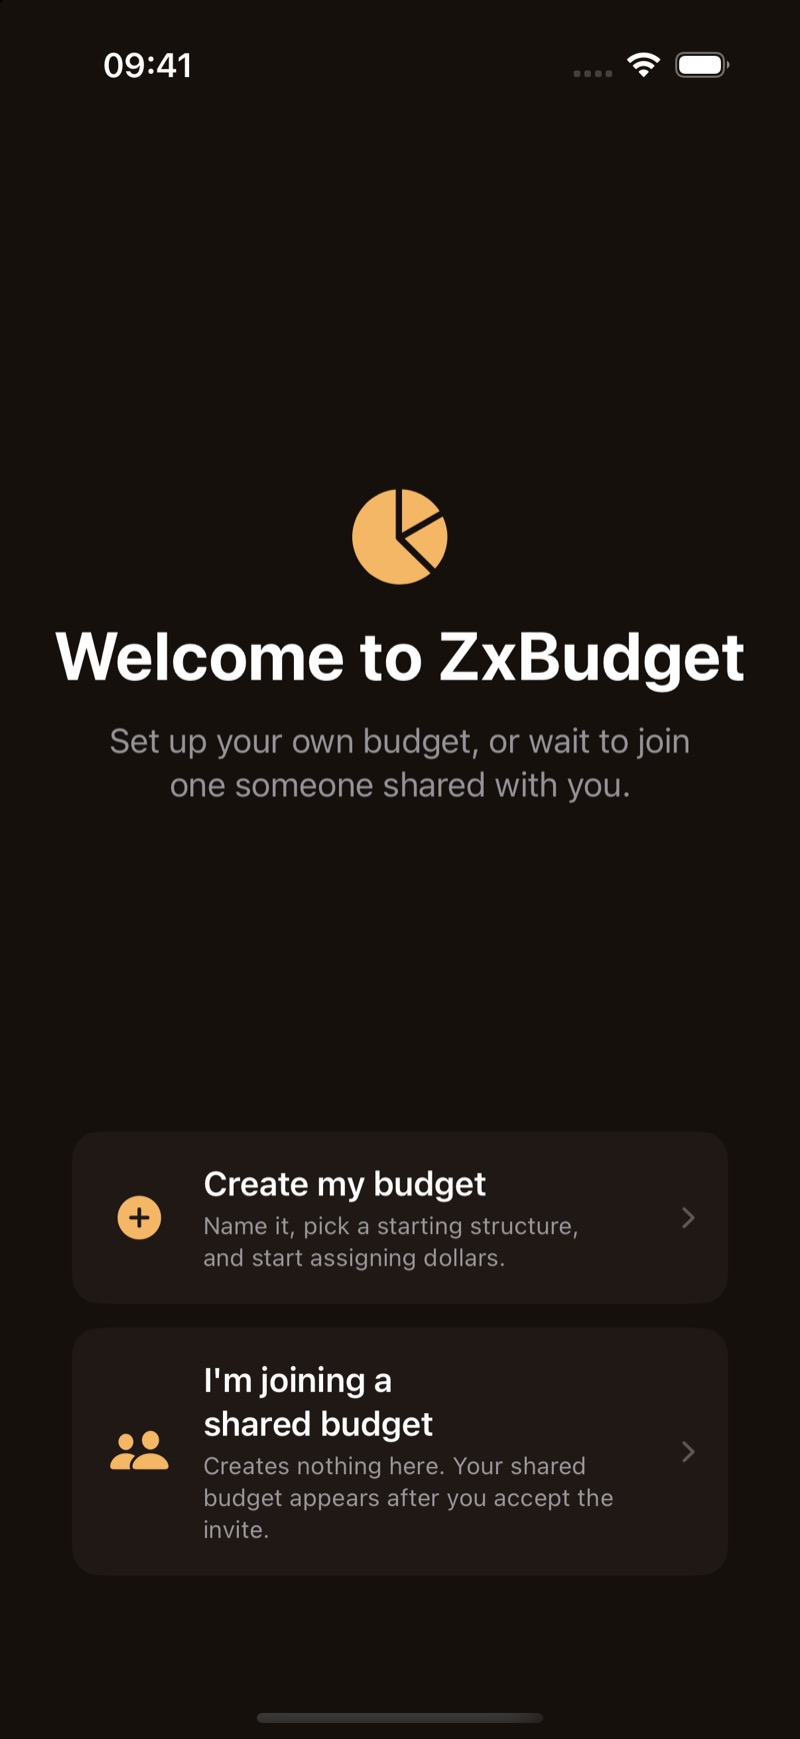
Open ZxBudget on your iPhone, iPad, or Mac. The first screen is Welcome to ZxBudget. To use the same budget on your other Apple devices, sign into iCloud on each one (the iPhone Settings app, or System Settings on a Mac). One device works without that.
2. Create your budget
- Choose Create my budget. If someone is inviting you instead, choose I'm joining a shared budget and accept their invite. Nothing is created on this device until the shared budget arrives.
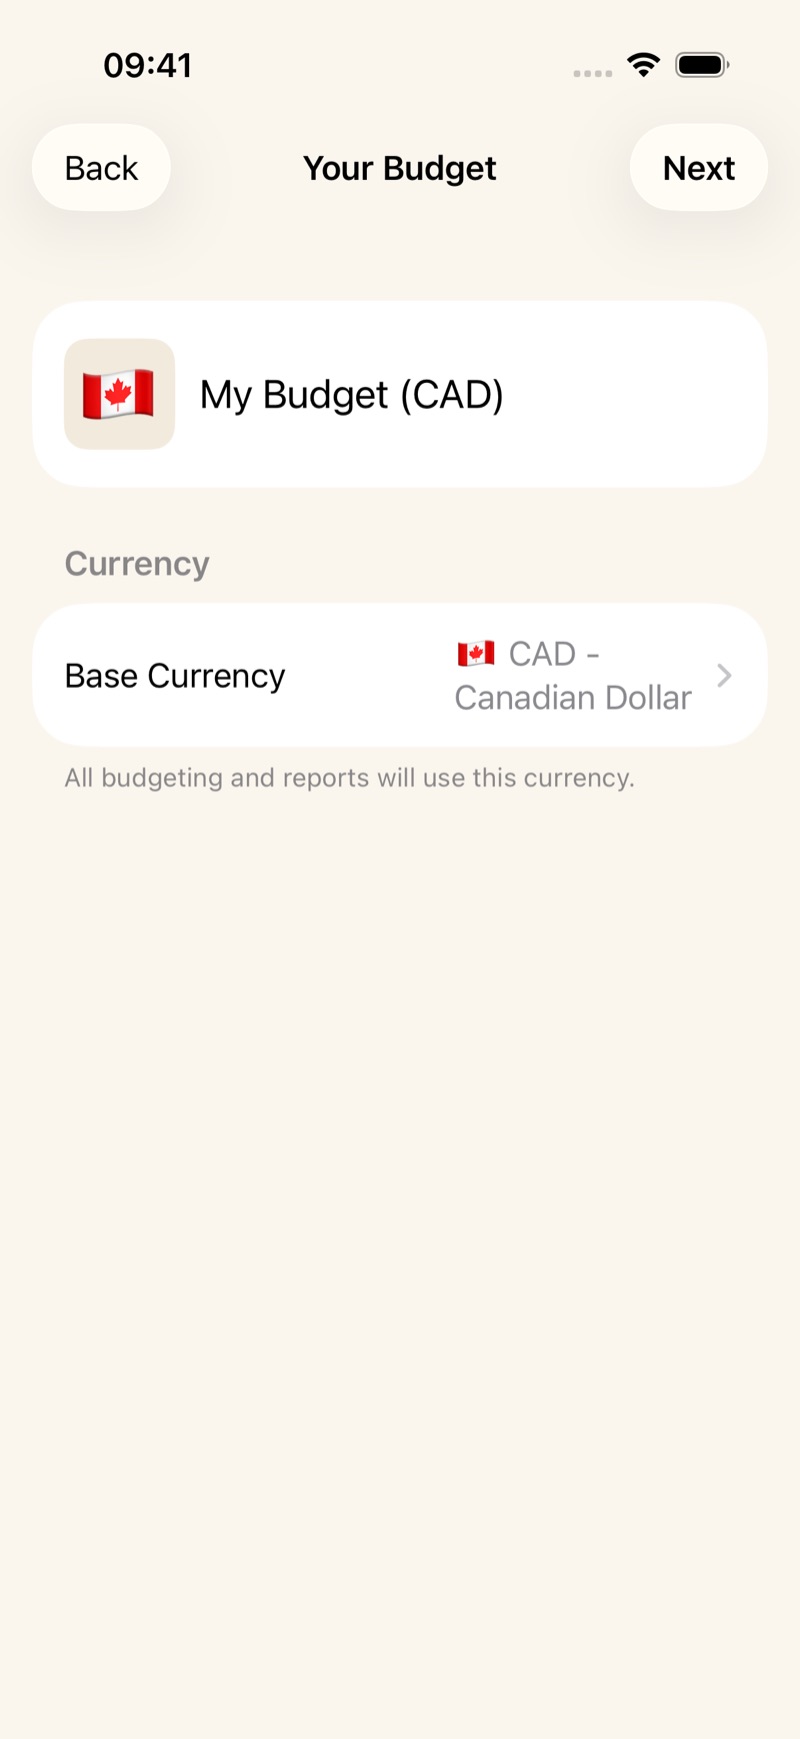
- On Your Budget, set the name and the base currency. Canadian dollars is already selected. Tap Next.
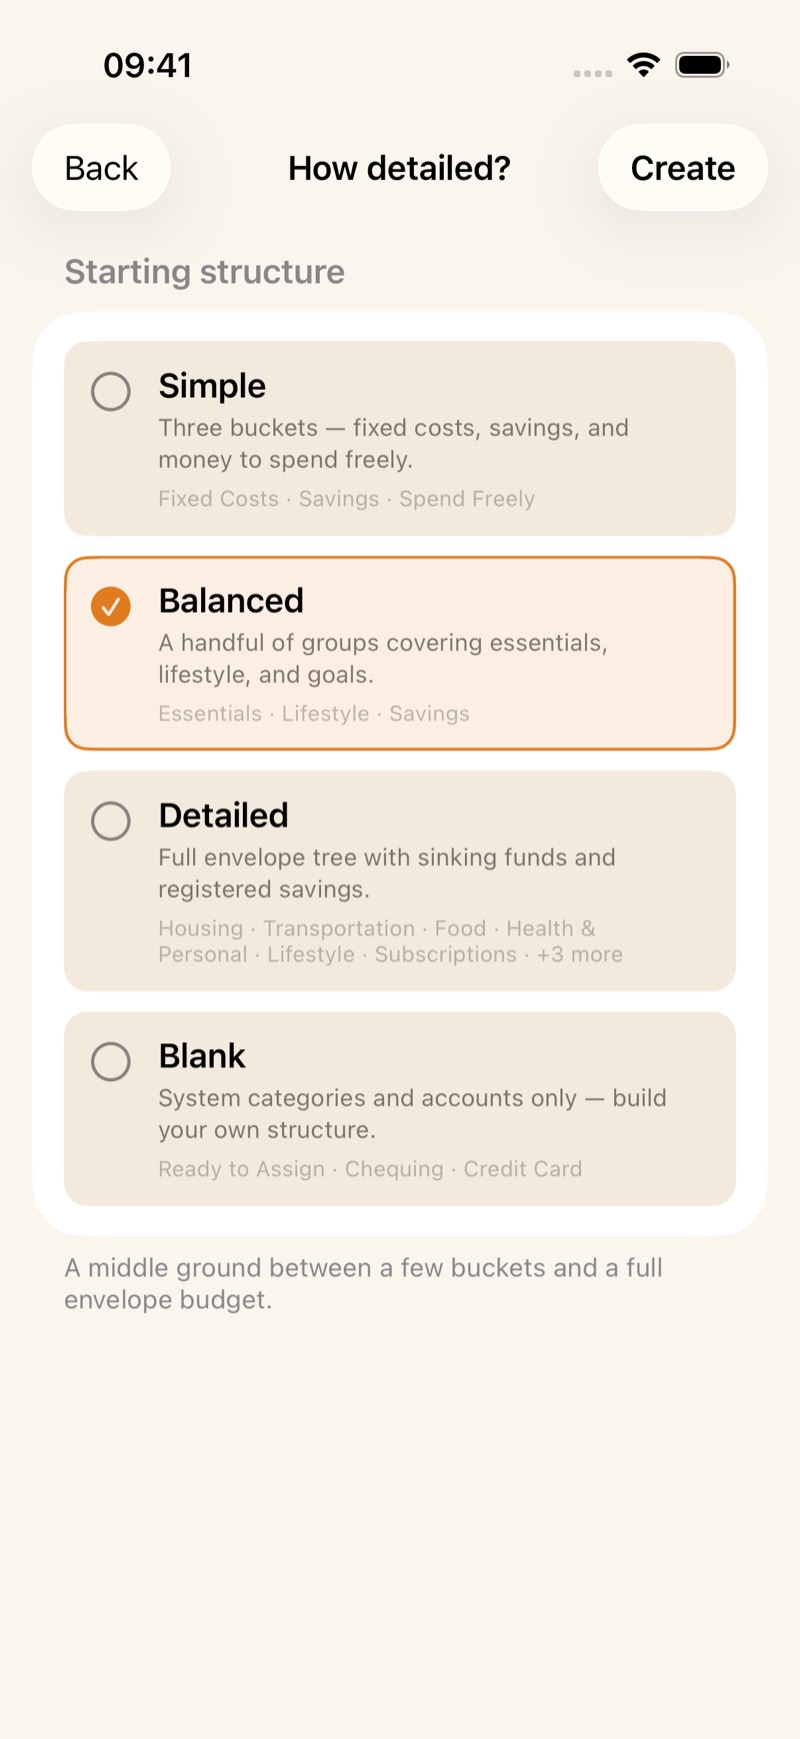
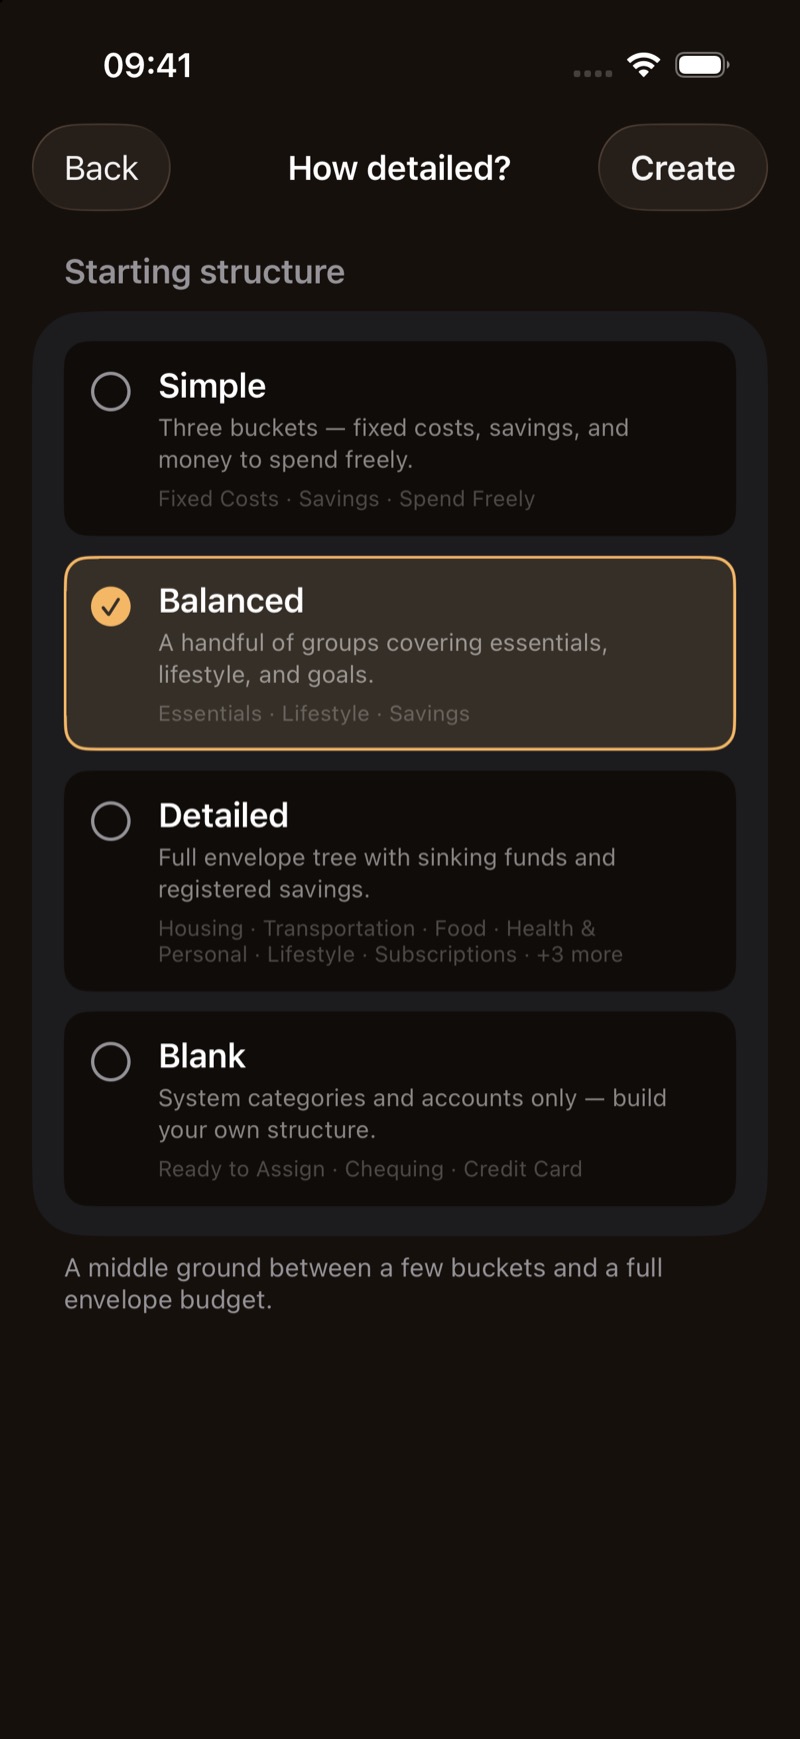
- On How detailed?, pick a starting structure: Simple, Balanced, Detailed, or Blank. Balanced is the one selected to start. Tap Create.
You can rename, add, or delete categories later. The template is only a starting point.

3. Set your account balances
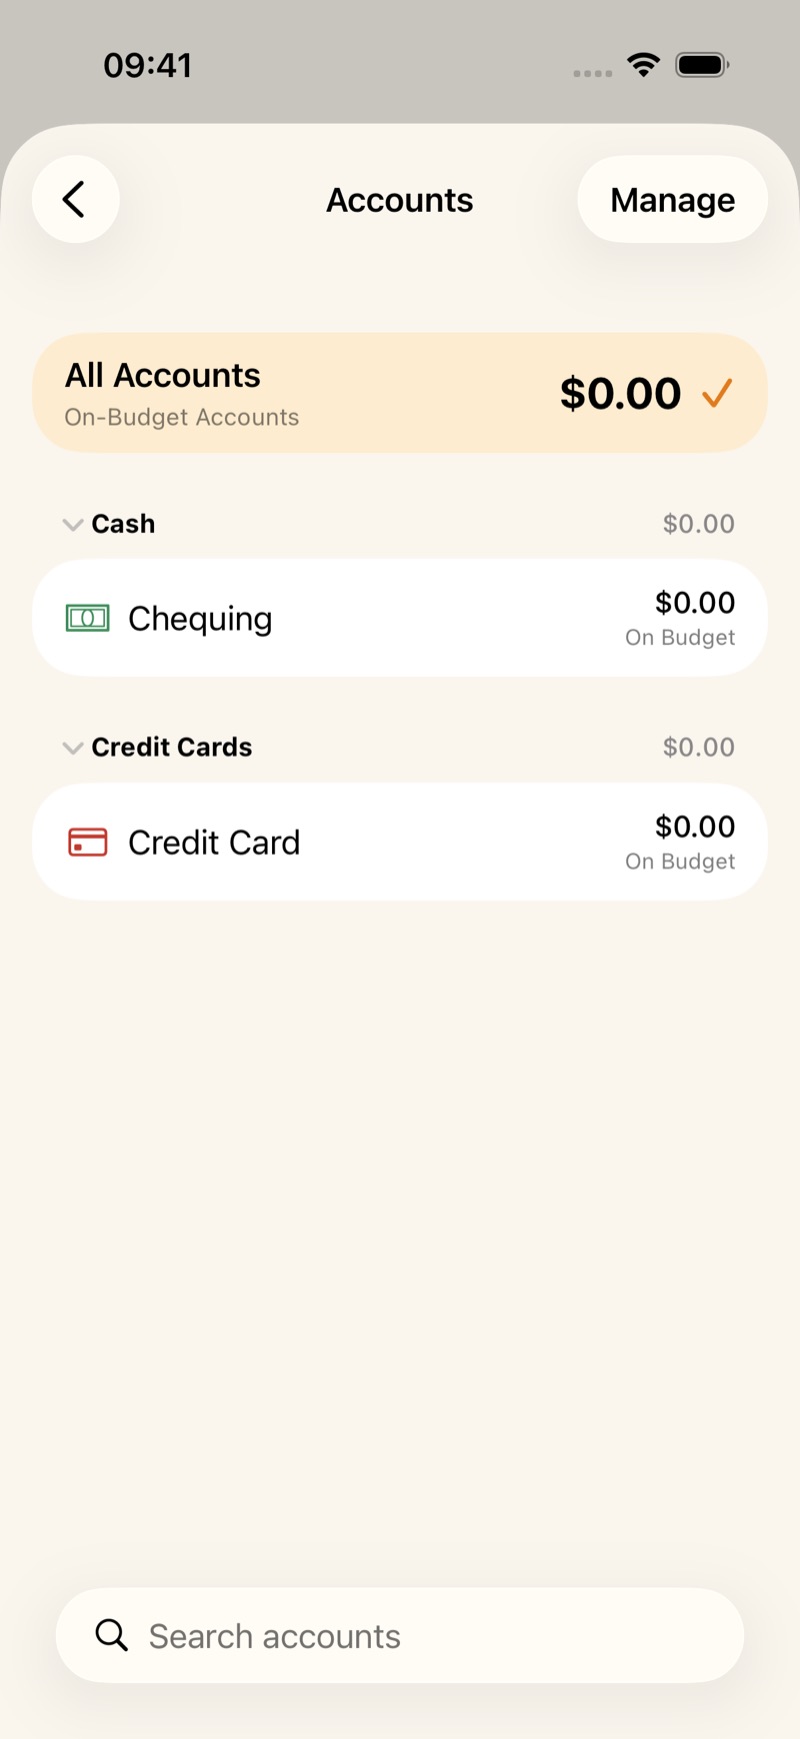
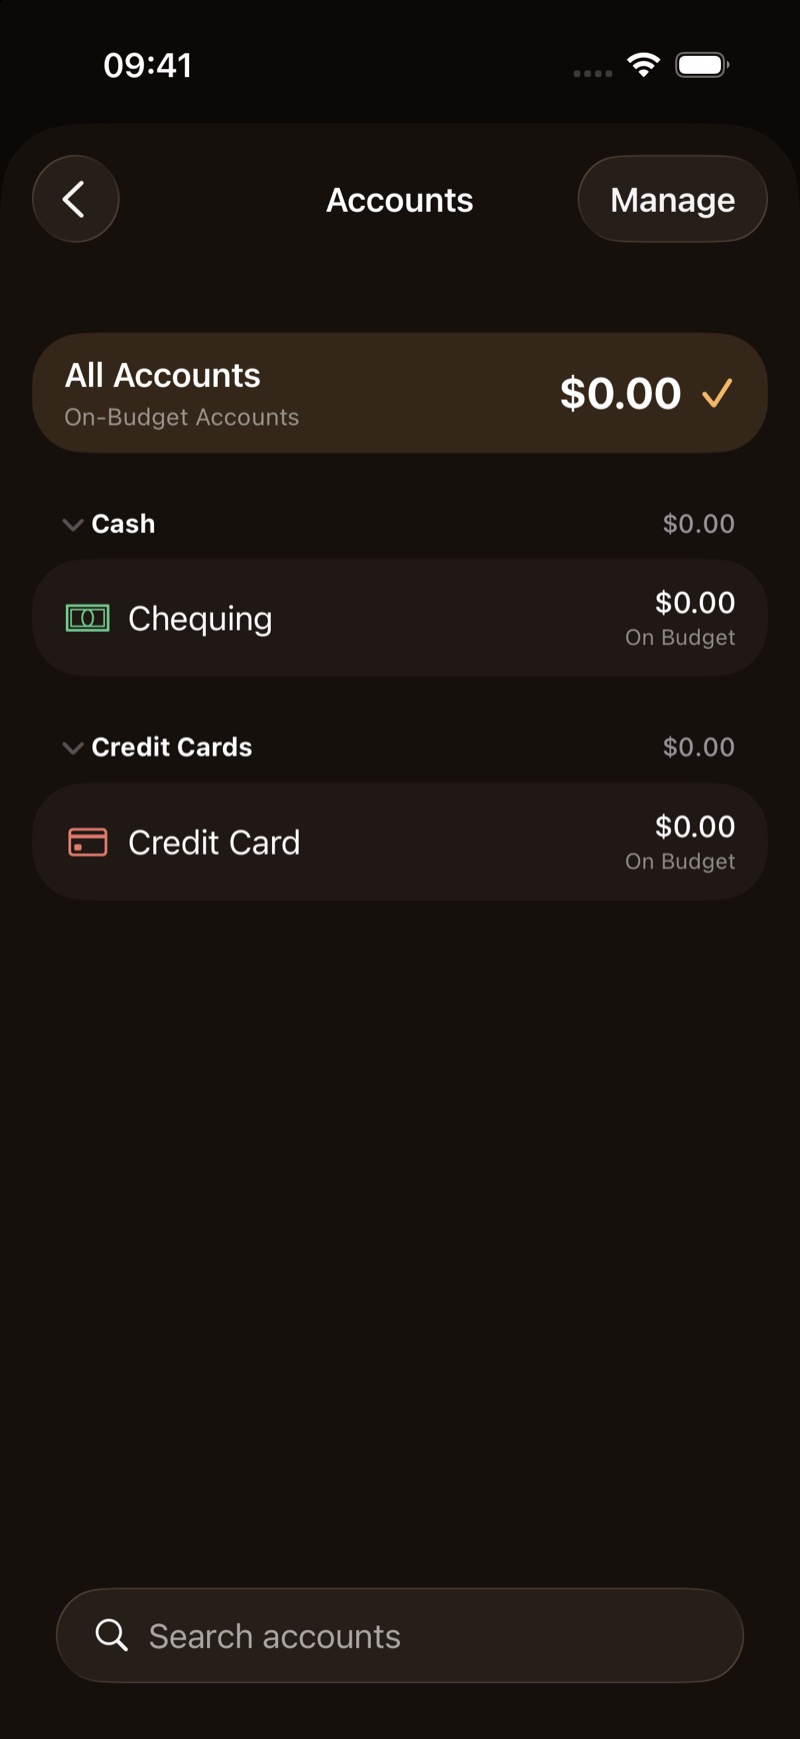
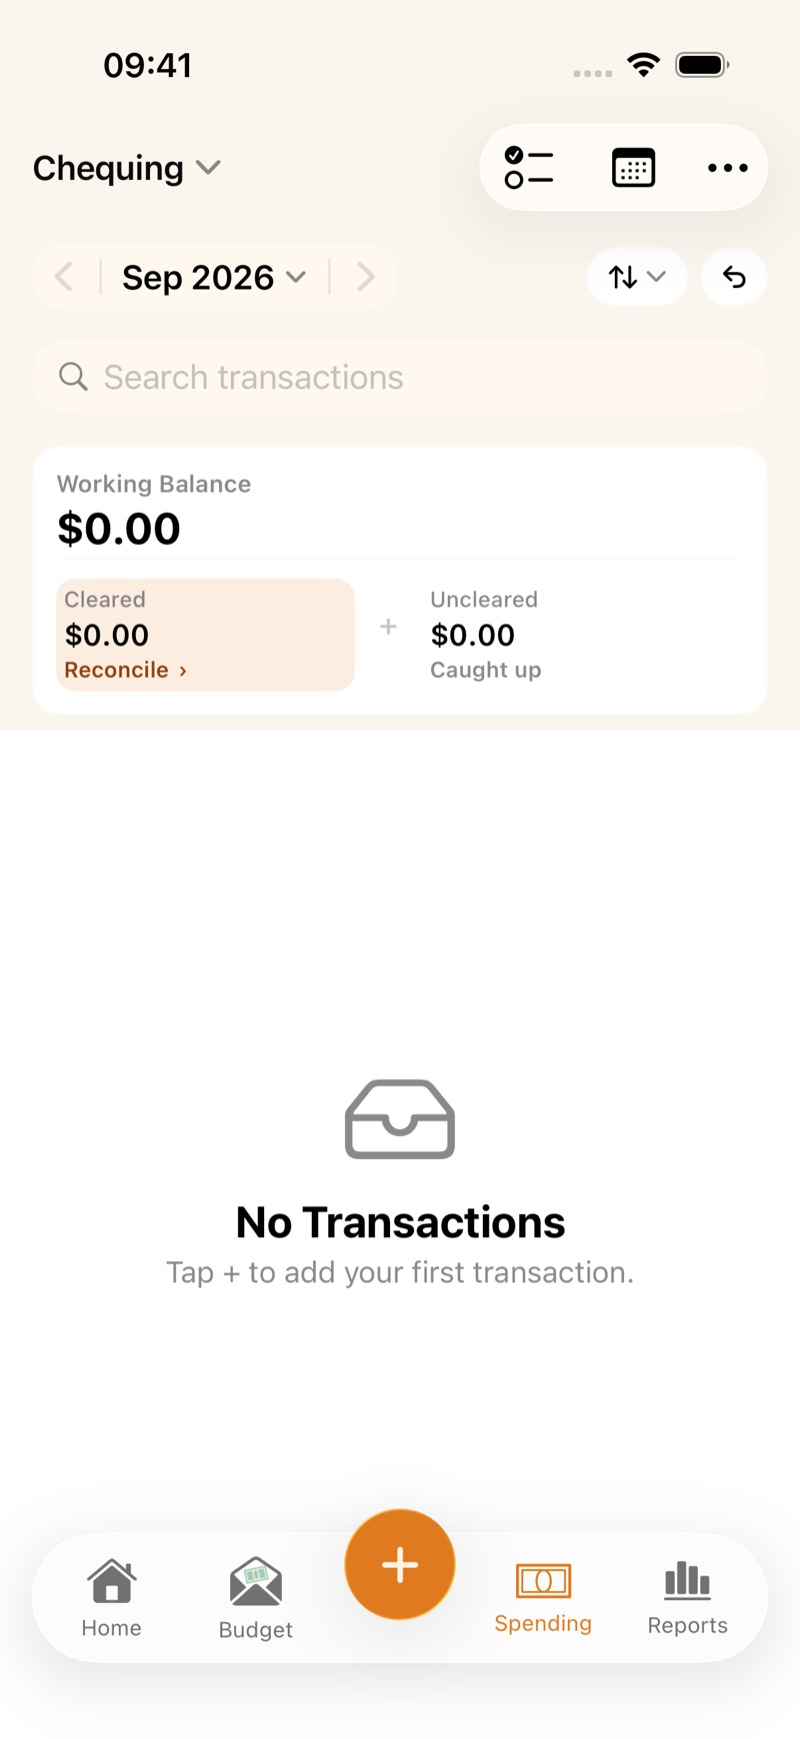
Open the Spending tab and tap All Accounts. A new budget includes Chequing and Credit Card, both at zero. Open Chequing. A new account asks for Balance and As of, which is the straightforward way to enter what the account holds today. Add savings, cash on hand, or another card the same way.
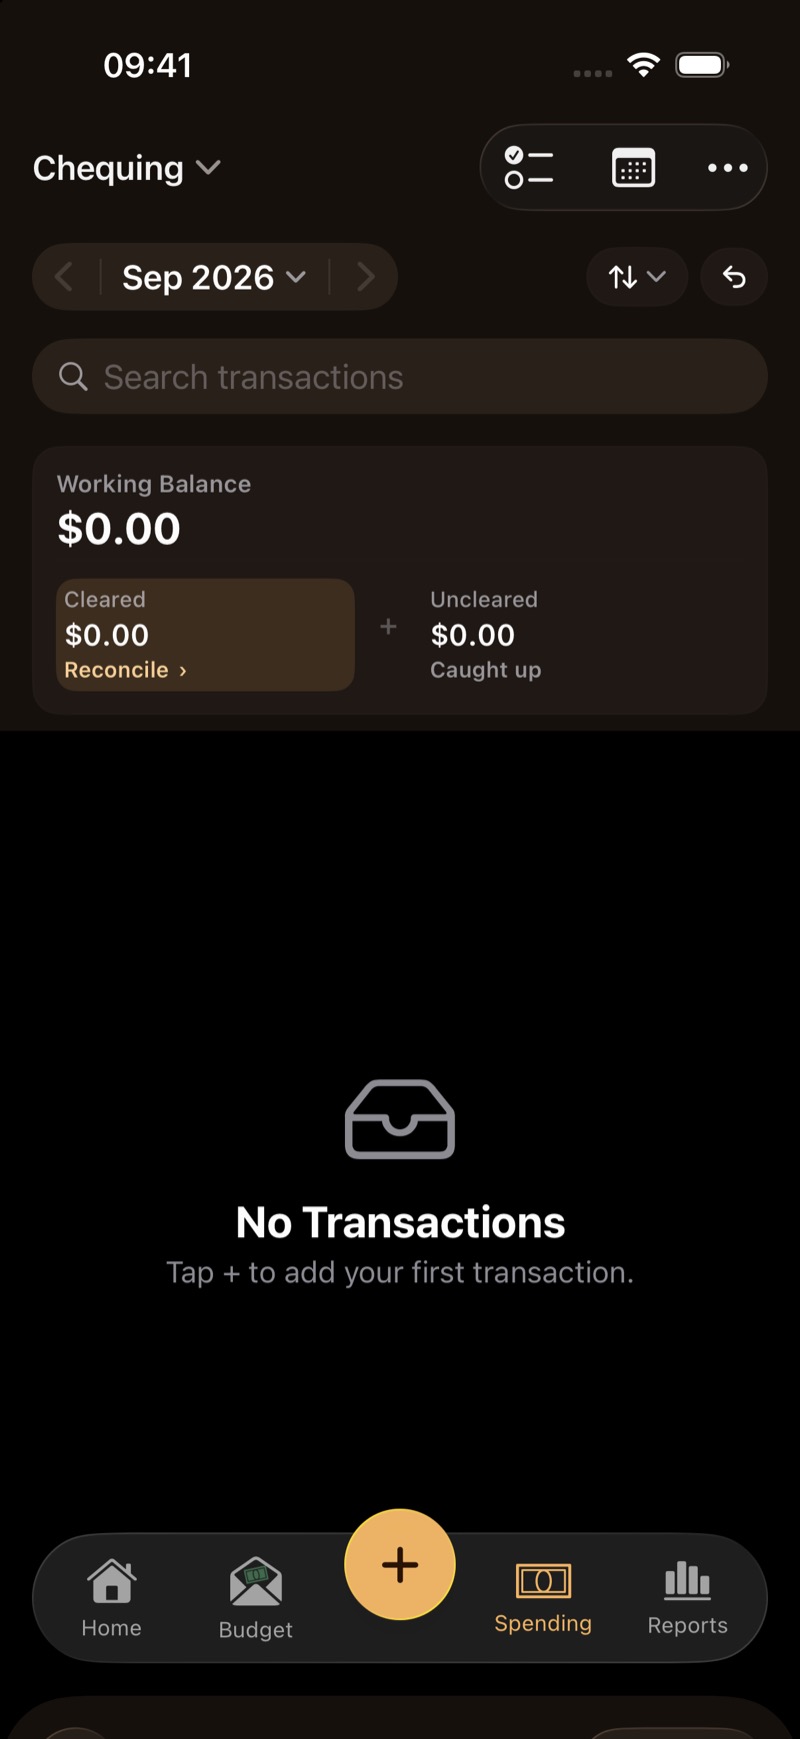
4. Record income
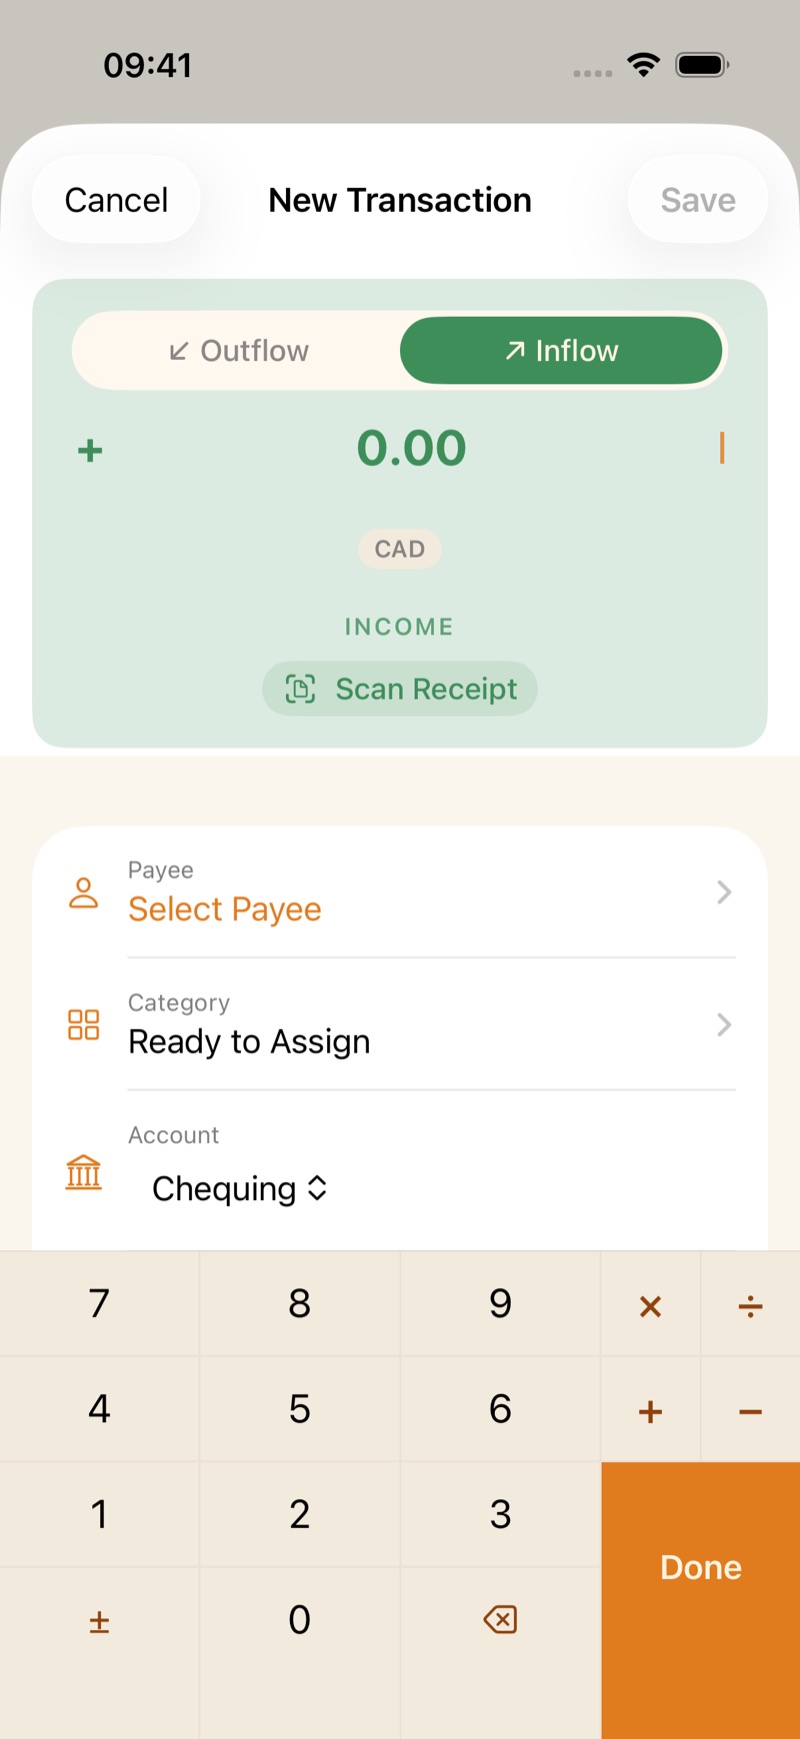
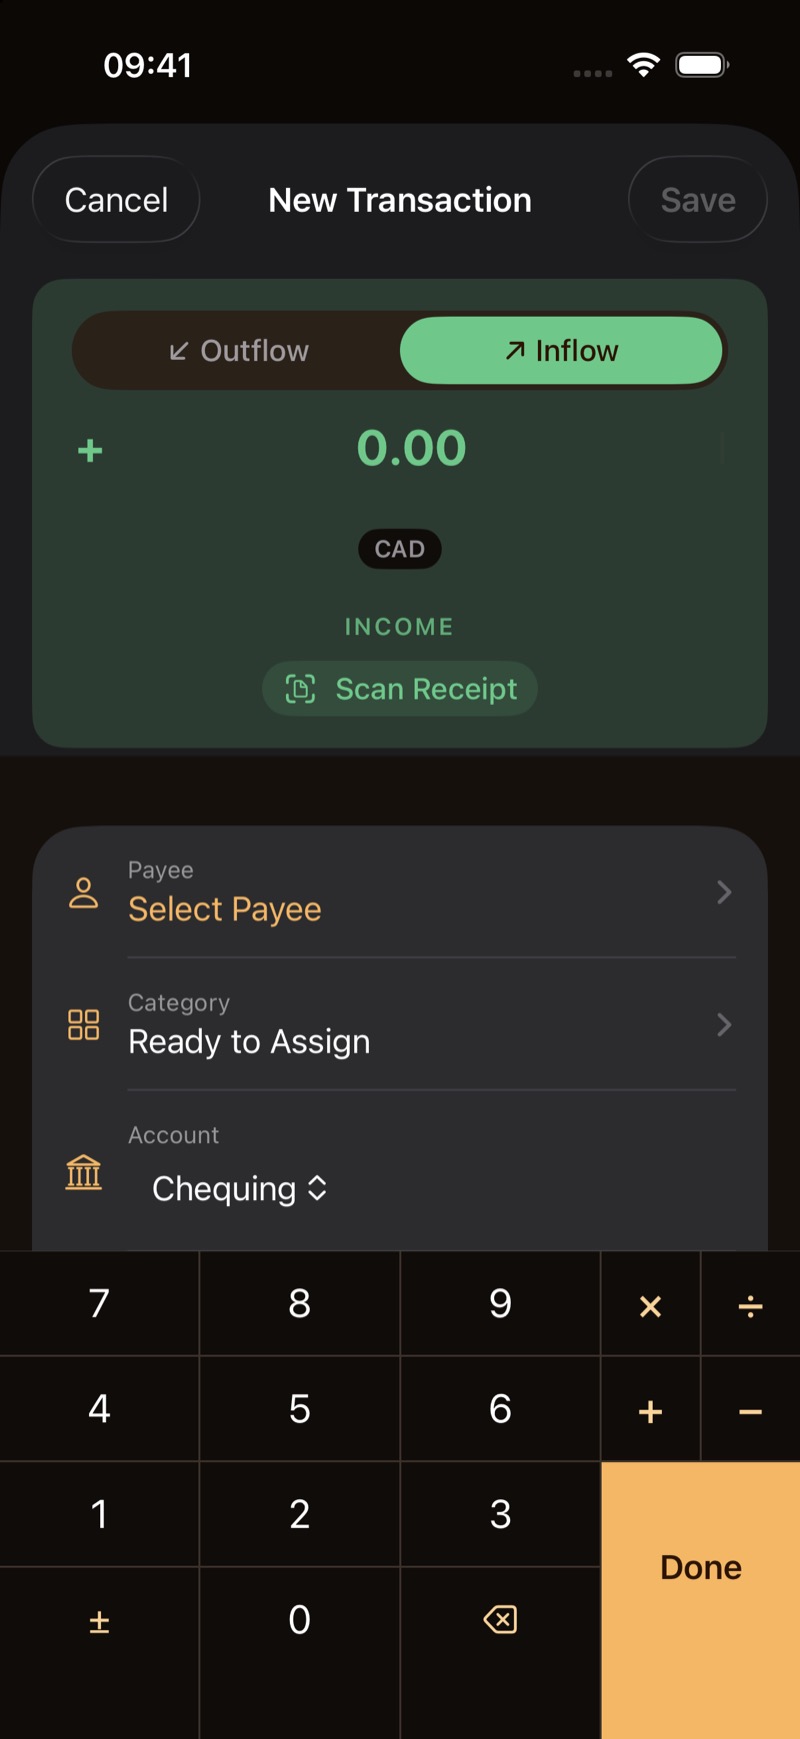
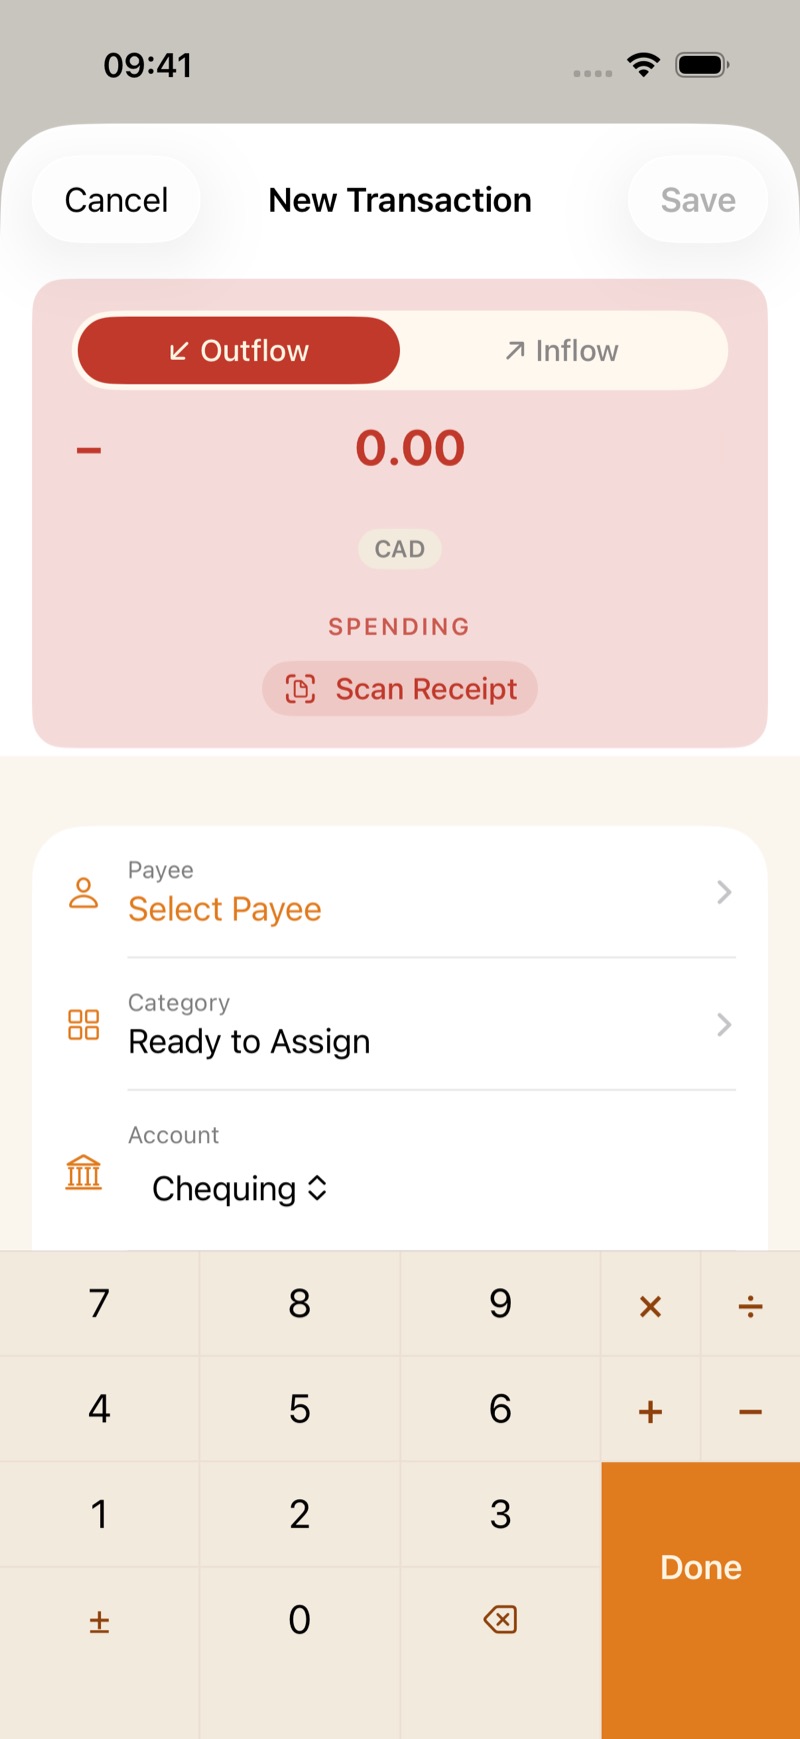
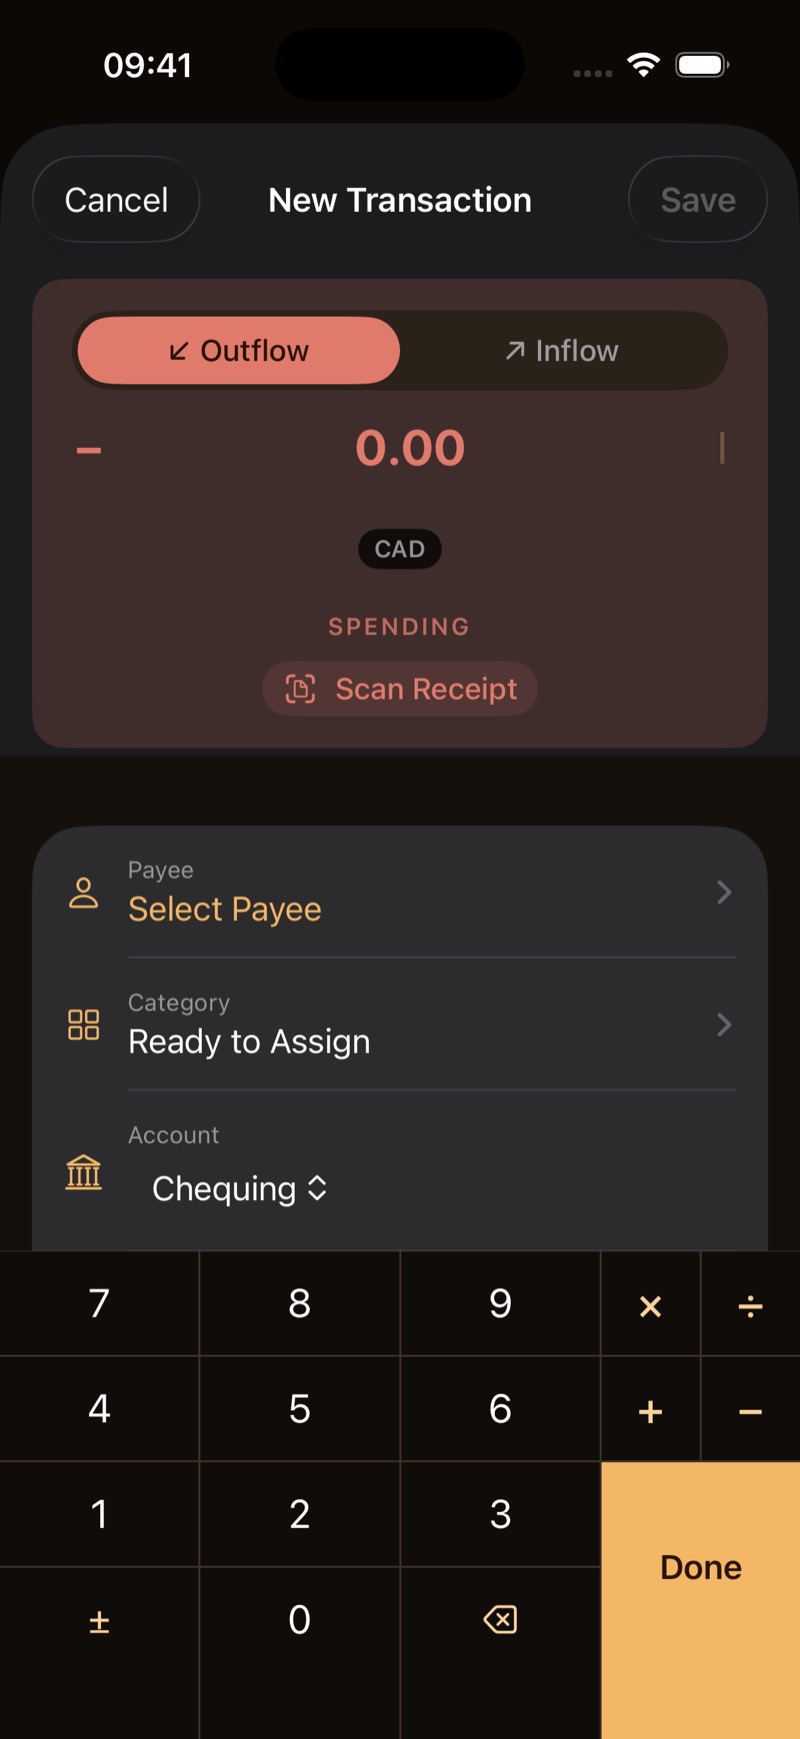
On iPhone, tap the + in the tab bar. On Mac, use Add Transaction or press ⌘N.
Switch the amount to Inflow. The category starts at Ready to Assign. Enter the pay and the account it landed in, then save. That money waits in Ready to Assign until you give it a category.
5. Assign the month
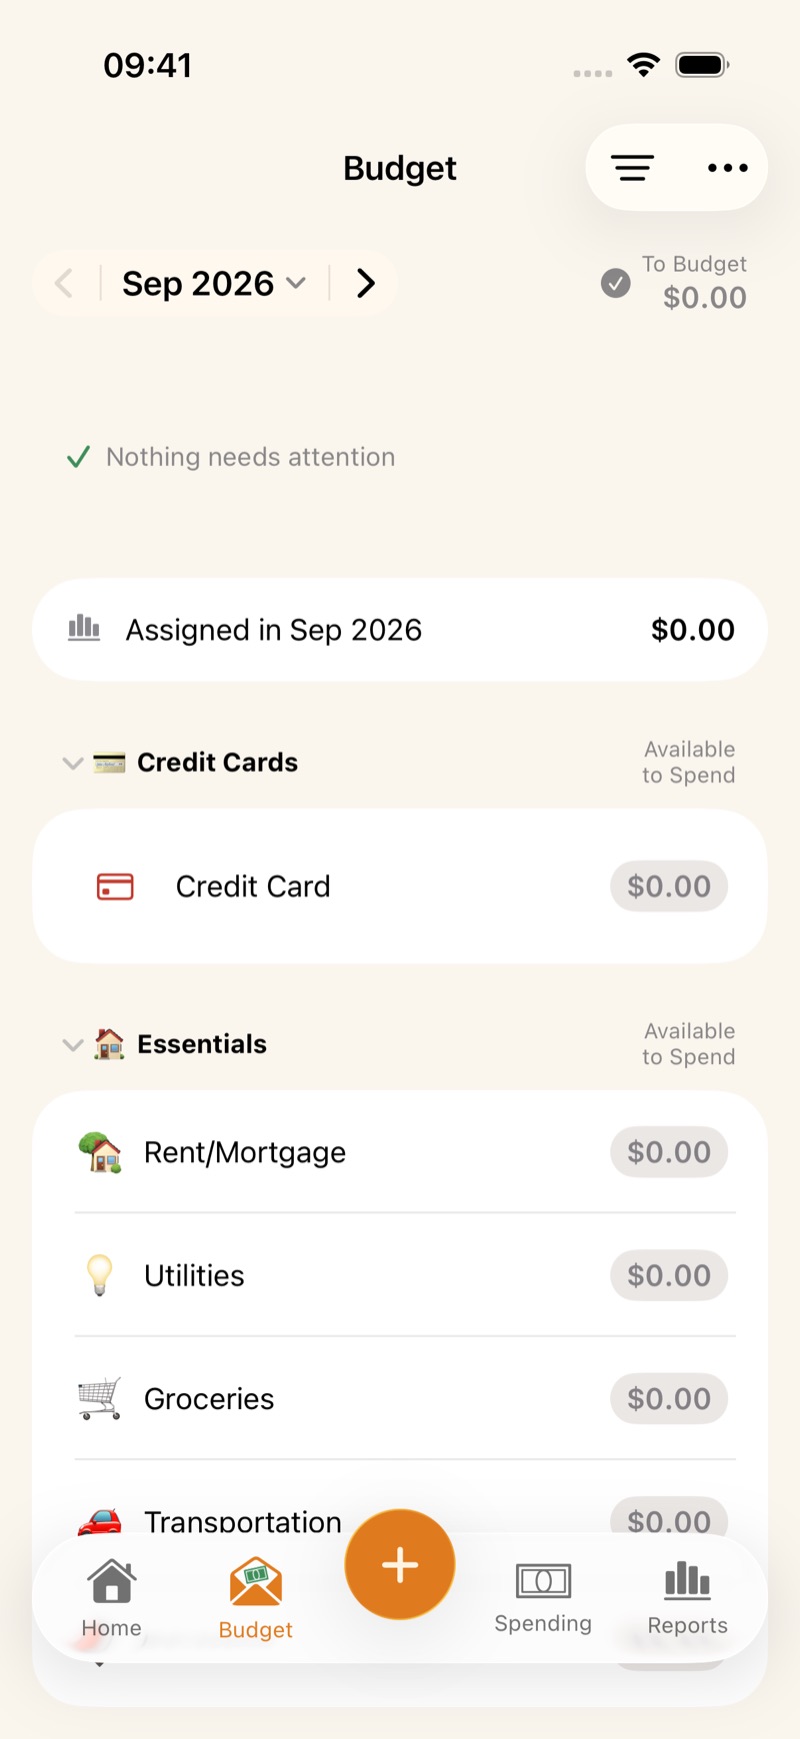
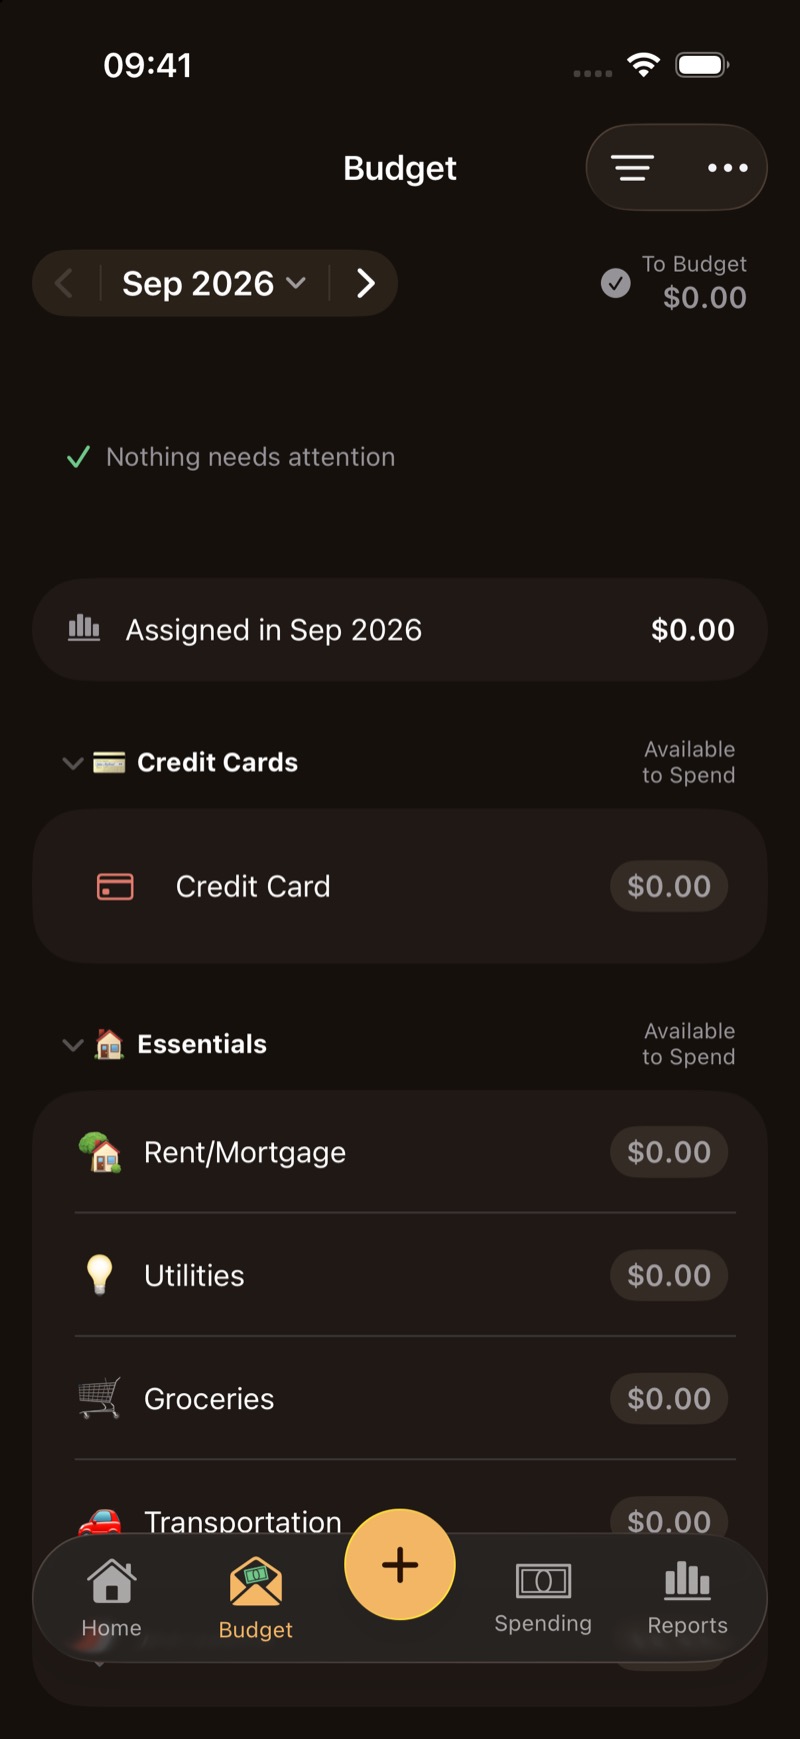
Open the Budget tab. What is still unassigned shows as To Budget.
- On Mac, click a category’s Assigned amount and type what this month needs.
- On iPhone, tap the category, such as Groceries, and edit Assigned.
Stop when nothing is left to budget, or leave some of it there on purpose. Unassigned money stays visible.
6. Record spending
Add another transaction and leave it on Outflow. Pick the category you spent from and save. That category’s available amount drops by what you spent.
7. Mark transactions cleared
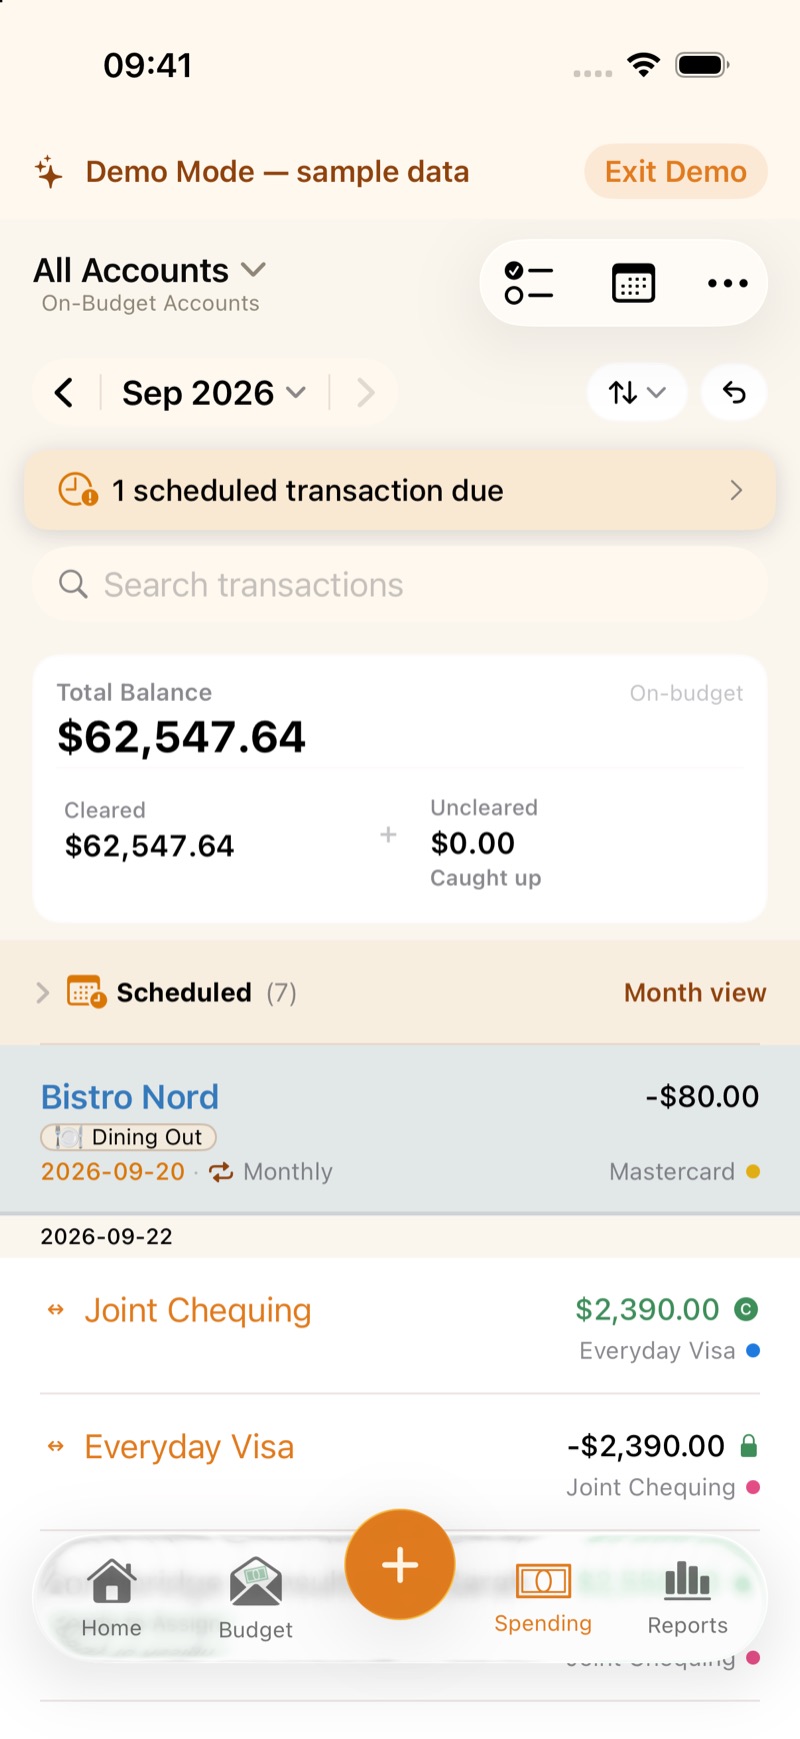
A new transaction is not cleared. At the end of its row is a C. An outline C has not been matched to your statement. A filled C has. A lock means that row was already reconciled, and it stays locked.
When the purchase shows on your statement, mark it cleared. On iPhone, press and hold the row and tap Mark Cleared. On Mac, click the C. Uncleared rows stay out of the next step. Reconcile only locks the cleared ones.
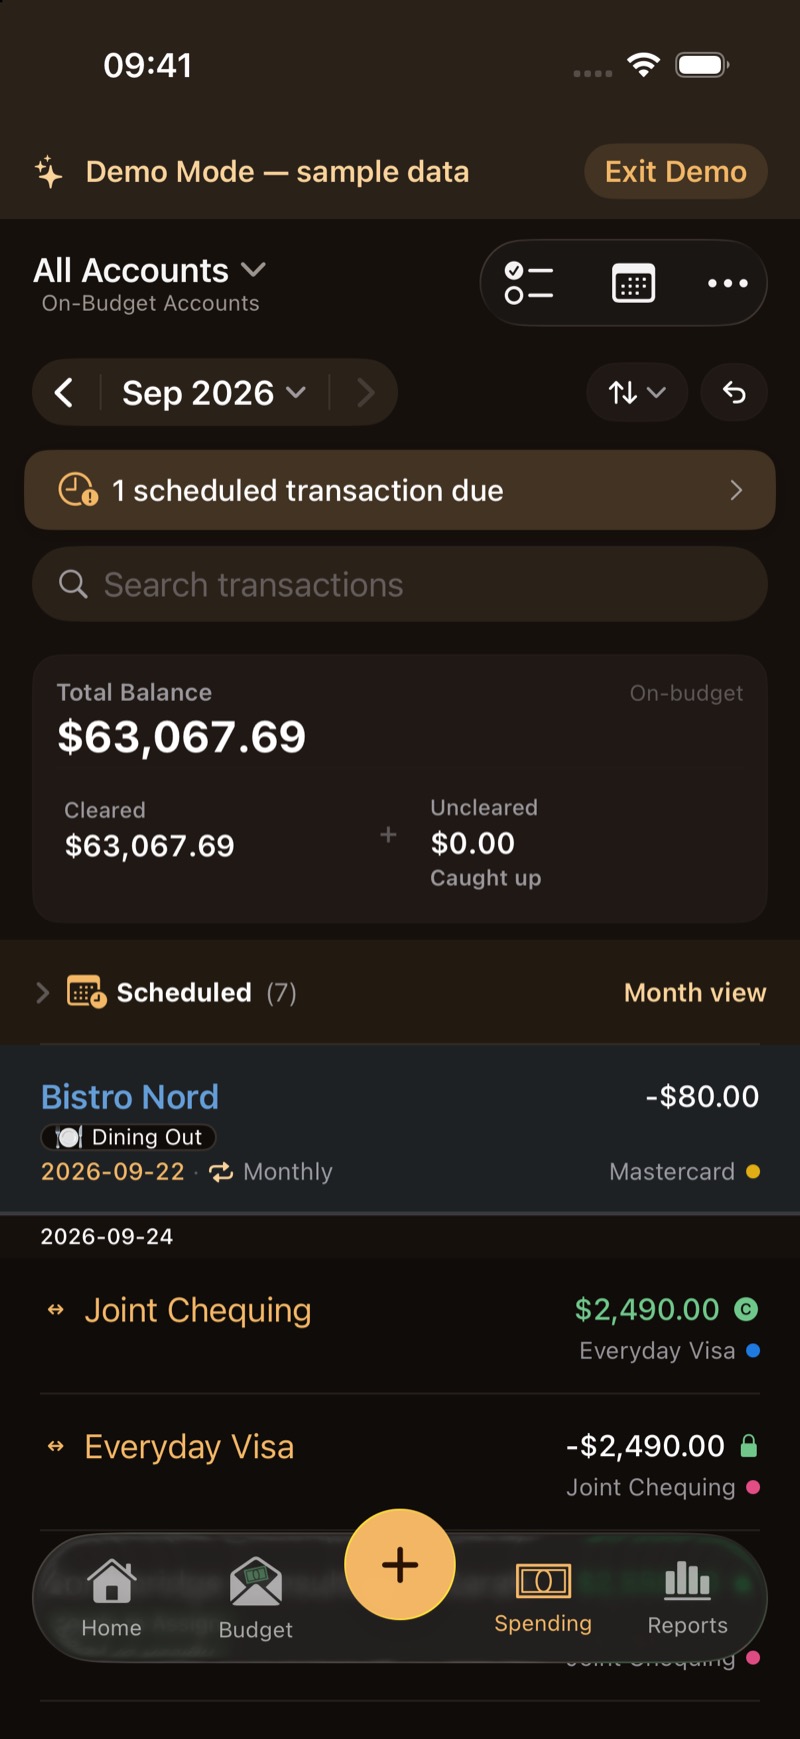
8. Reconcile your accounts
When the cleared transactions match your statement, open the account from Spending. Under Cleared, tap Reconcile.
The sheet shows Statement balance, already filled with the cleared balance as of that date. Change the amount only when the statement differs, set As of to the statement date, and tap Reconcile. Cleared transactions on or before that date are locked. If the numbers differ, an adjustment is posted for that day.
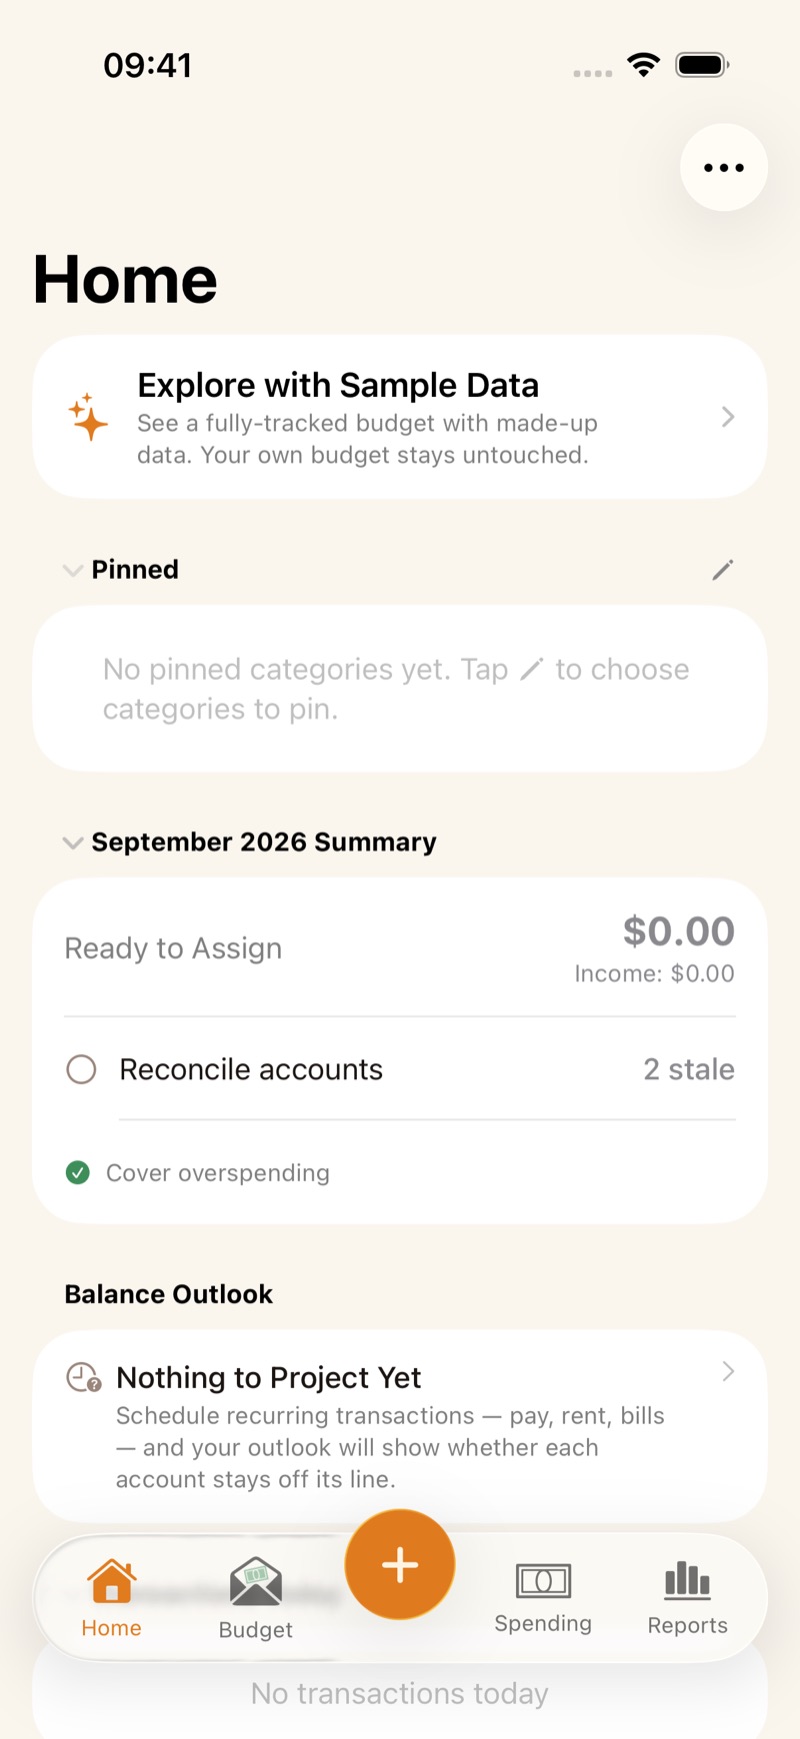
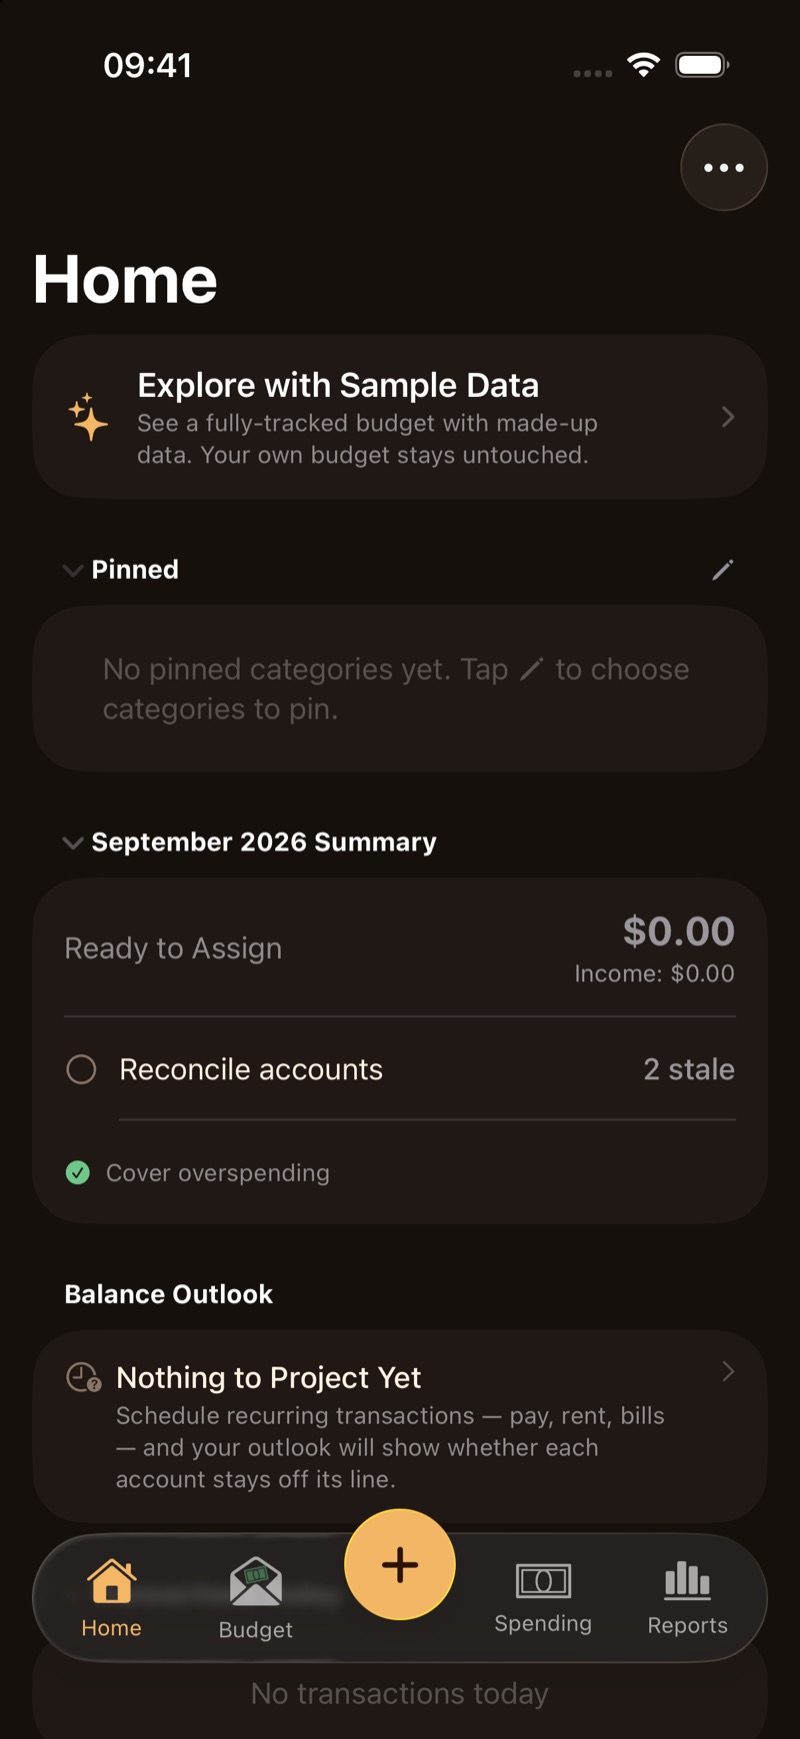
Do the same for each chequing account and credit card. Home lists Reconcile accounts when one has gone a while without it.
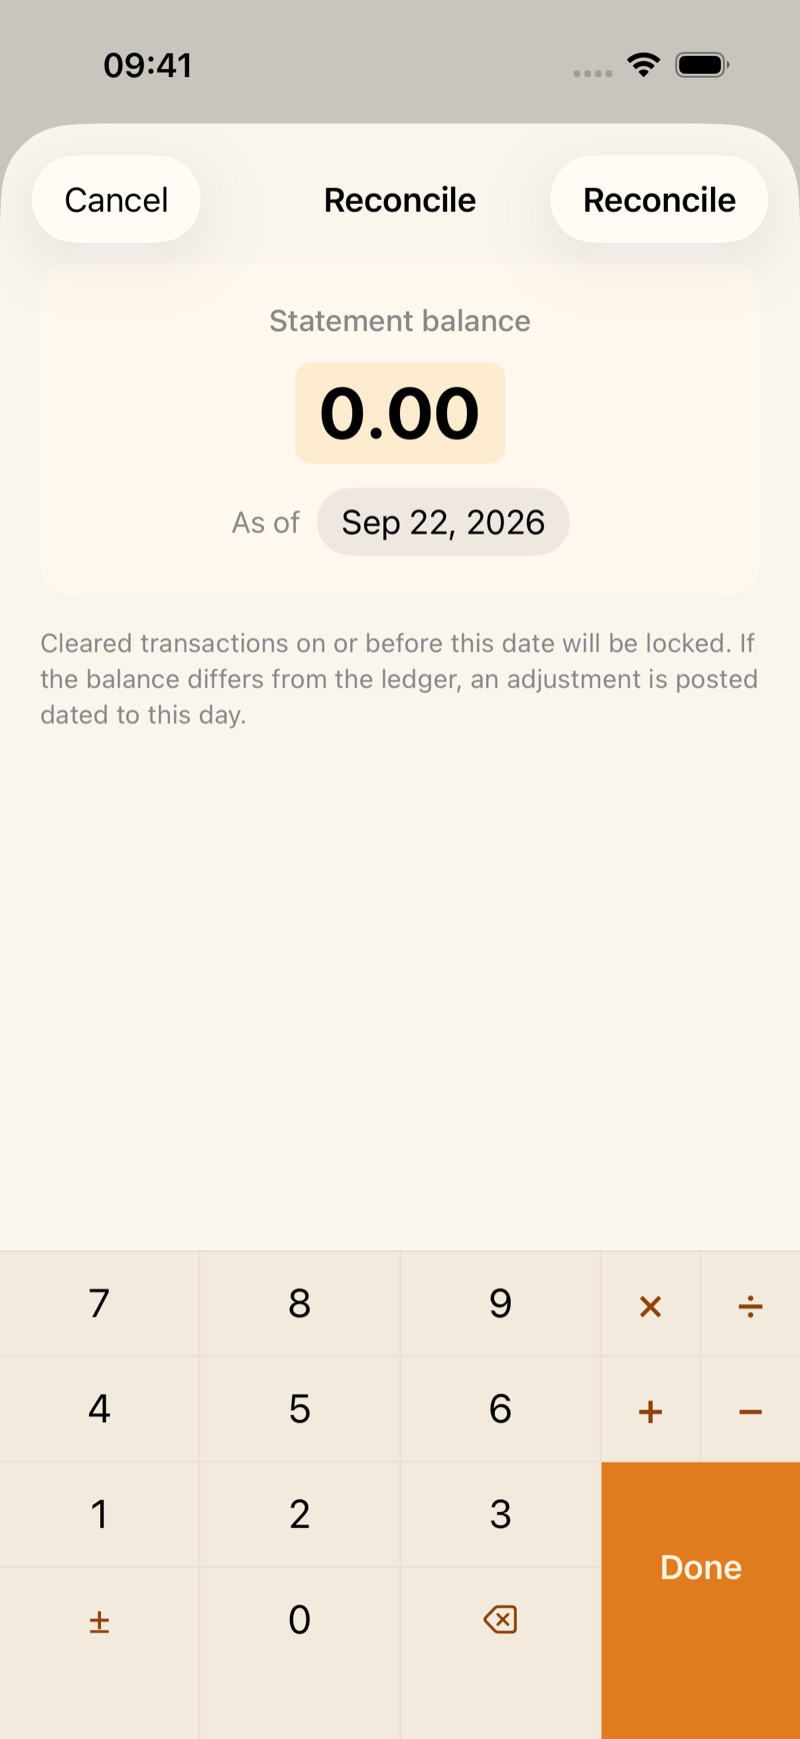
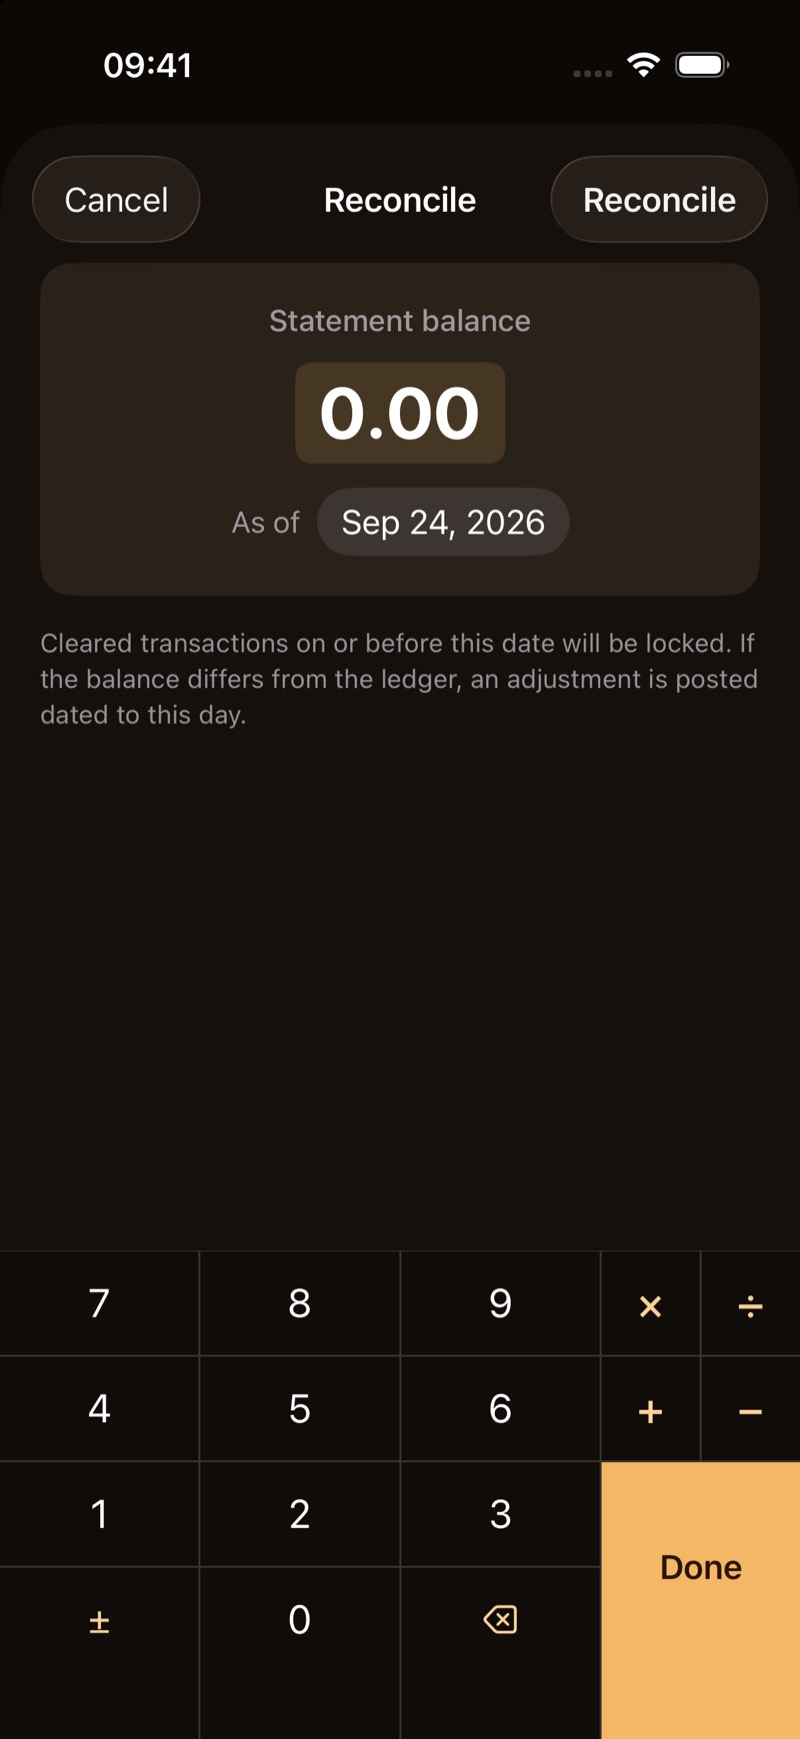
Want to click around before entering your own numbers? On a new budget, Home offers Explore with Sample Data. You can also open Try Demo Mode in Settings. On iPhone, Settings is in the ··· menu. On Mac, it is in the ZxBudget menu (⌘,). Exit Demo on the banner is the way back. The sample budget never mixes with yours.
When something looks wrong
Email zxiiro@gmail.com with your device model and OS version. For where data lives, read the privacy policy.